Monday 28 October 2013

Collect Moments by france papillon

Hi all,
It's with a sad heart that i'm writing here for the last time. To cheer this moment up a bit, a made an art journal page, with a wording that is right up to the situation me thinks ;)


I played in my mini Moleskine Sketchbook, which i use to wipe up excess paint and ink. As you can see, this page had already quite some layers: acrylic paint and several left overs from a dictionary page used for decoupage.
 I added some more turquoise acrylic and Decopatch glue to seal everything.
I stamped the Inspiration Jars: the plain one in Jet Black Archival ink on kraft cardstock colorized with Peacock Feather and Rusty Hinge Distress ink, the empty one in Black Staz'On on Wendy Vecchi's Clearly for Art. I trimmed both. I also prepared the big dragon fly from the Insects and Butterflies stamp set with Black Tuxedo Memento ink and colorized it with Copic markers.
I assembled the layers from the jars, placing the dragon fly in between them and glued it in my journal, placing it on Tim Holtz tissue tape. To glue the clear one, I used Matt Accents. I stamped a word from the Carte Postale on PaperArtsy Smoothy paper and colorized it with Vintage Photo Distress ink so that i had a label for the jars.
I added black lace on the sides and layered cambric and Tim Holtz tissue tape underneath the wording that i printed out. I stamped the little butterlfy from the Insects and Butterfly stamp set on PaperArtsy Smoothy paper and colorized it with Copic markers. To avoid having to trim too many details, i stamp the original image directly in my journal and glue the trimmed images on top of it. I also added a word from the Carte Postale set as a label on the jars and the post stamp as back ground.


That's me signing off.
 I wanted to thank you all lovely peeps here at Artistic Stamper and especially Emma and Jennie for giving me moments to collect. 

Much love,

france


Saturday 26 October 2013

Altered Box

Hi everyone, Astrid here with my second project for October.
Even though it is nearly Halloween, I decided not to make another Halloween project, but to alter this box as a gift for a crafty friend.

This box started life as a rather ugly purple cardboard jewellery box (stupidly I forgot to take a "before" picture), but I liked the lining on the inside and thought it would be perfect to be altered as a little gift for a crafty friend.
I started by adding some texture to the lid with  the new 6 x 6 Chevron mask, using some Paper Artsy Grunge Paste. When dry I painted the whole box with French Roast Fresco Paint and dried with my heat gun. I then added a layer of Distress Crackle Paint in Tea Dye and when that had dried and cracked I then painted the whole box again with Bundled Sage Distress Paint, the last step was to add some Walnut Stain Distress Stain over the lid to seep into the cracks created by the crackle paint.
Here is a close up of the crackle, love how it turned out over the raised bits of the mask.

Next for some decoration of the lid.
I took a Tim Holtz Ornate Plate and altered it with the help of Salty Ocean and Bundled Sage Distress Paints
Next I stamped one of the sayings of the new Grungy Greetings stamps on a scrap of book paper and cut out just the word Love. I glued it behind the opening in the ornate plate added a couple of little brads and adhered it to the lid of my box.
Now for the content: I glued some scrapbook paper to a piece of an old cereal box and stamped the bobbin from the Katie Fox A Stitch in Time set 3 times, cut them out and inked around the edges a bit.
Next I wound some bits of Antique Lace and Seam Binding around them and fitted them in the box.


The final step was to rub some Treasure Gold in White Fire around the edges of the box and over the raised bits and that was it, gift box complete....
Hope you like it and see you next time. Thanks for visiting and have a happy stamping time!

Thursday 24 October 2013

Falling Leaves

Hello everyone, Alison (butterfly) here, and like many of the team I've been having a wonderful time with Katy Fox's fabulous new leaf stamps.  I've been having fun playing with gesso, inks, clear embossing and fussy-cutting (well... not so much fun with fussy-cutting - I'd be lying if I said it was my favourite thing to do!).


The background was a by-product of me doing some stencilling with the Roman Letters onto another tag with gesso.  I had this tag nearby and flipped the stencil straight over onto it to get a reverse print of the Letters here.


The gesso partly acts as a resist, but - being gesso - also takes some of the colour when you ink over it, as I then did.


I think there's Peeled Paint, Rusty Hinge, Spiced Marmalade and maybe a couple of others in the mix here.  (Sorry - this was made in the middle of house-moving so I've only a hazy recollection of what I actually did!)

I blended the same colours onto a piece of Manila cardstock, and then stamped the leaves in various combinations of Archival Ink - Sienna, Olive, Fern Green and Sepia - using two or three ink colours on each stamp.


I clear embossed the stampings as I went, using the Wow Superfine powder.  And then the cutting...  The embossing gives you a bit more sturdiness on the very fine areas, like the stalks, so it's quite helpful when you're cutting.


I seem to have added some Grunge Paste to create some "earth" at the foot of the tag, patting it on with the palette knife for extra texture, and inking it along with the rest of the tag.


One leaf had the privilege of being home to the Camus quote which is also on the stamp plate - it's a lovely font, I think.  It's stamped in Potting Soil Archival ink.


I arranged the leaves around the tag, and then mounted them using padded tape, sometimes a couple of layers of it, to get different heights above the background.


I like the glossy leaves against the chalky background of the gesso.


A very simple, natural tag topping of some raffia tied with twine, and my autumnal tag is done.

Thanks so much for stopping by today.  The October Alter Something Challenge still has a few days to run here at The Artistic Stamper, so do come and play... and I'll see you again in November.

Ingredients used:
Artistic Stamper Stamps:  Katy Fox, Leaves
Crafter's Workshop: Roman Letters stencil
Distress Inks: Peeled Paint, Spiced Marmalade, Rusty Hinge
Archival Inks: Olive, Fern Green, Sepia, Sienna, Potting Soil
Grunge Paste
Wow Embossing Powders: Superfine Clear Gloss
Gesso
Manila tags
Manila paper

Tuesday 22 October 2013

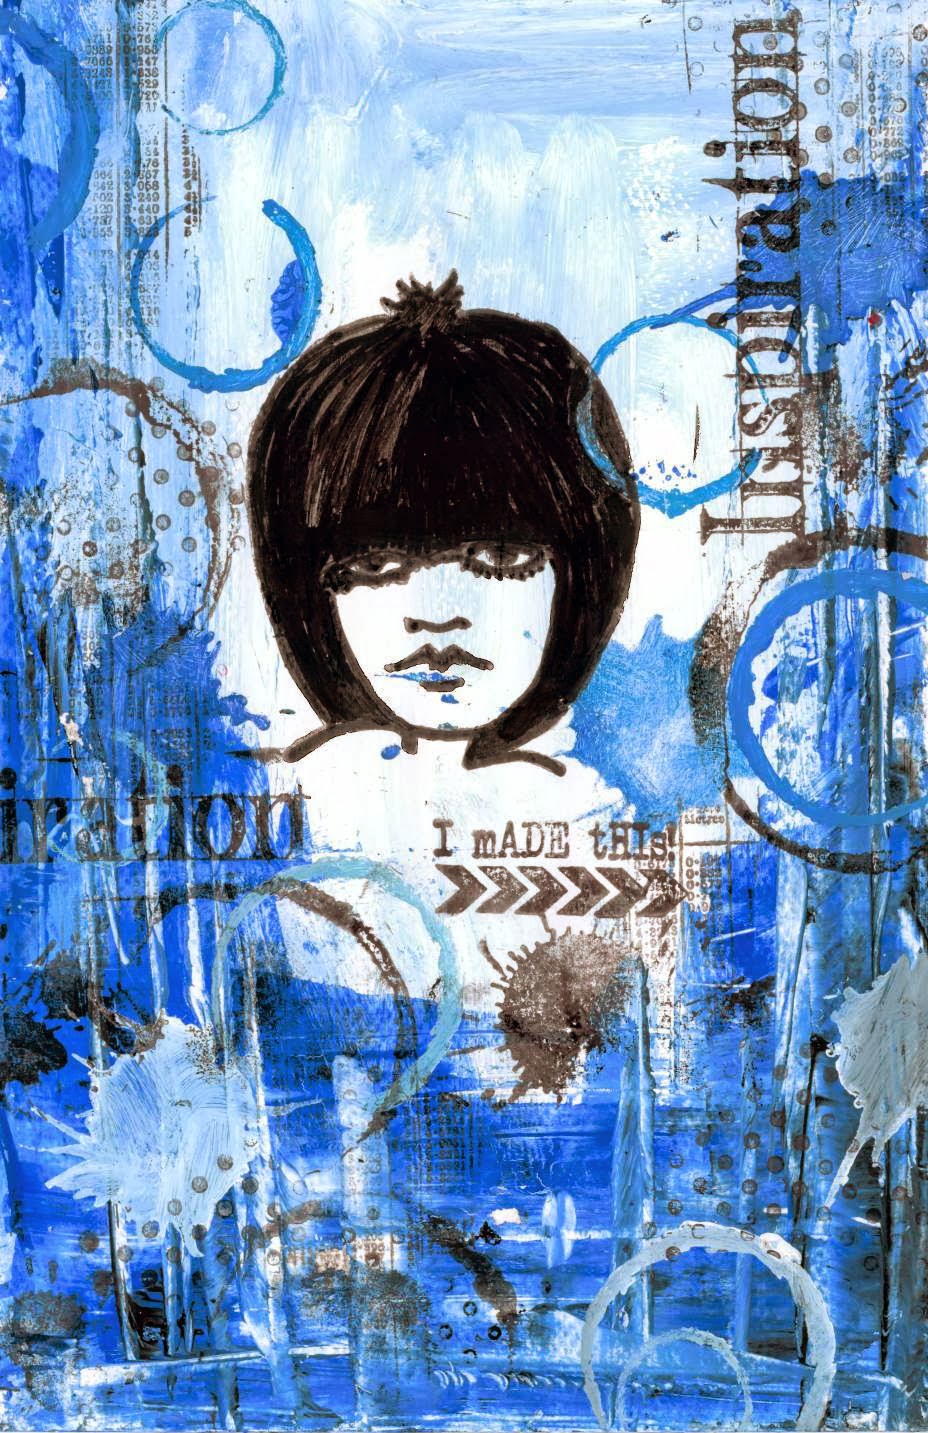
Art journaling with new stamps and stencils

Hey there, this is Titbelsoeur talking to you !

How exciting it was for me to both get back to art journaling and use these awesome Artistic Stamper new stamps and masks ! 

I got the feeling that tonight's gonna be a good night that Jennie created those stamps and masks FOR ME !!! Jennie, tell me : did you ? or what ? anyway, you really rock !!!

I started painting my page with blue and white acrylic paint, and I really  HAD A BALL using this amazing Splats & Swirl mask to make my background !


But it would have been nothing if I hadn't added the Messy Art © Katy Fox stamps to the page : 


among a few other stamps, of course !!!
which are :

Inspiration
Numerical plate 
Dots Background
Age
 

This was really a big pleasure to art journal again, and I hope you feel it when you look at this page I am very proud of !


Thanks for stopping by,

I am looking forward to reading your comments!

A la prochaine !


Sunday 20 October 2013

Autumn Flower by Alison (Craftytrog)

Hello Stampers! I have an Autumn inspired card to share with you today.


Here's how I made it...

Start by making an A4 background, using Distress Inks (mustard seed, spiced marmalade, fired brick & peeled paint), & Tim Holtz's Scribble Stain Distress technique.
Cut a piece of background, approx. 5" square. Randomly stamp some small leaves from Katy Fox's Leaves Plate, using peeled paint & spiced marmalade Distress Inks. Edge with Aged Gold embossing powder, matt on to black card, then attach to a 6x6" kraft card blank.


To make the 'flower', stamp and gold emboss six large leaves & two small leaves, on the previously made background.
Cut out the leaves & ink the edges with peeled paint Distress Ink. Assemble the flower with a small flat brad, then glue some buttons to the centre. Make the stalk, by colouring some seam binding with peeled paint Distress Stain, then twisting it, & gluing it to the card with glossy accents.
Glue the flower & leaves in place with glossy accents.
To finish, stamp the phrase onto some leftover background, cut it out, gold emboss the edges, matt on black card, then attach to the card as shown.

I hope my bright, Autumn card inspires you,
Thanks for visiting,
Alison xxx

Friday 18 October 2013

"Thinking of you...." Tag By Zuzu.

 
Hello... Zuzu here:
Well as I got my first ever die cutting machine (BigShot) at the beginning of this month, I HAD to do something that involved cutting out with my one and only die (so far). So I have made a tag that features a large flower and leaves.

Firstly I inked a large buff tag using distress stains and inks. I used Antique linen, vintage photo, peeled paint and worn lipstick. I applied the ink randomly using a blending tool. then i stamped on the Katy Fox  "postcard" stamp in black archival ink. next i used the new  Leaf background stamp. I used peeled paint distress ink and stamped over the full tag.

I cut out my "Tattered floral" flowers out of card and used the large broad petalled flower. I inked them with worn lipstick, fired brick and vintage photo . I cut out four of them, cutting sections out of the inner layers to make them easier to fold in to a cone shape... Tim Holtz has a tutorial on his blog that shows you what to do (his example is with a different die cut but the principal is the same.) you can find his step by step HERE.  once it was assembled i sprayed over it with Heirloom Gold perfect pearls mist. I also cut out some leaves (Astrid was visiting and had brought lots of dies for me to try out) and inked them.
Next i inked some plain card using worn lipstick, fired brick and vintage photo on enough card to stamp out my words "Thinking of you" and to make a backing mat for the main image... and I also inked a piece of card with just a light touch of peeled paint and vintage photo to print out my collage lady stamp... I used my paper distresser tool on all the edges (including the tag), then assembled all the pieces. The ribbon is a bit of calico i ripped off and inked with "pesto" alcohol ink. you dont need much if you add it to a touch of blending solution in a saucer and dip the fabric in to it till it soaks it up.
See you in a couple of weeks. 
Z x

Wednesday 16 October 2013

Hey You by Sioux Jenneys

Happy Wednesday! I've got two ATC's today that I made into a card :)


1. The first ATC used the mini polka dot background stamped in Distress Ink faded jeans. I stamped the love you cartouche from Greetings A6 and the word love from Journaling words 1 on top with Archival black. Hey you, again from Greetings A6 was stamped in Archival crimson. The doodles border was stamped in Distress Ink aged mahogany and the edges aged with brushed corduroy. The leaf from Leaves A5 was stamped in Archival sepia and cut out and attached with glossy accents.


2. The second ATC had a swooshed background made from Distress Inks in mustard seed and bundled sage with the days of the week from Dates A6 stamped on top again in bundled sage. The words today/everyday, from Dates A6, were stamped onto a bit of the left over dotty background and cut out. The ampersand was stamped in Archival crimson and the great big HUGS from Greetings A6 was stamped in black Archival.


3. The 15cm square card was then stamped with one of the swirls from Splats and Dots A5 in Distress Ink aged mahogany and aged on the edges with brushed corduroy. The ATC's were tattered on the edges and coloured with Distress Ink black soot and attached to the card with glossy accents.


Hope you like :) See you again soon!
xoxo Sioux

Monday 14 October 2013

Urgent! by france papillon

Hi all!
I thought i wouldn't be much of a guest, if i didn't play along with the current challenge, 
which is to alter something.

This little bag contained my hubby's latest Christmas gift 
(yep, that's how long i've had it around to do something with it).
And this is what i turned it into:


First i applied a layer of gesso over it and cut out fitting pieces of cardboard out of an empty packaging. These pieces of cardboard were used to reinforce the little bag so that it would keep a nice shape once glued inside. To make them look less 'packaging like', i applied Vintage Photo Distress Ink on the edges.
I made a drawer to put inside the bag: i cut the pieces out of the backcover of a watercolor paper block (which is 2mm cardboard).
I simply glued them together...
...and reinforced the structure with gommed kraft. I dressed up the inside with kraft cardstock.
I added some stamping using the Ephemera stamp set using Vintage Photo Distress Ink and Black Jet Archival Ink.
When i came back to my studio the next morning, i had a bit of a surprise: the gesso and the layer of paint i applied on the bag didn't adhere to it. Only thing left to do was to peel it off... and search for a solution: i needed color that would stick to this non poreous paper bag...
 Adirondack Alcohol ink!!! That did the trick!
I blended Cloudy Blue, Sailboat Blue, Eggplant, Ginger, Latte and Caramel.
I stamped some of the Ephemera and the Air Mail stamp set onto a BoBunny paper scrap (12"Midnight Frost Crystals) and on a strip of kraft cardstock with Vintage Photo Distress Ink and Black Jet Archival Ink. 
 And guess what: it's the perfect fit for atc's! 

Your turn now, go! Go alter something! 

xx
france

Sunday 13 October 2013

Thinking of you on Halloween


Hello everyone, this is Astrid here with a little Halloween project, - a tag in two parts:
Now I love Halloween and Halloween projects, but for some reason I don't own many Halloween stamps, so this was a bit of a challenge for me, but hey ho, nothing like being creative with what you have....
These are the stamps and products I used.

Stamps used:
Inspiration Jars
Travel Labels
Grungy Greetings
Katie Fox Leaves
Other products
Tim Holtz Embossing Folder Eiffeltower and French script
Distress Paints: Antique Linen, Weathered Wood, Bundled Sage
Distress Ink: Gathered Twigs, Vintage Linen and Bundled Sage, Rusty Hinge, Wild Honey, Aged Mahogany
Archival Ink: Potting Soil
From my stash
Prima Mixed Media tag
Sizzix Difuser
String
Brown pen
Seam Binding
Graphic 45 Happy Haunting collection
A few embellishments and some seam binding
Hole punch and eyelets

I started by cutting a Prima Mixed media tag from my stash into two parts and then ran the top part through the Tim Holtz script embossing folder with one of the diffusers to give me an un-embossed part in the middle. I then coloured it with my three chosen colours of Distress paints by adding them to my craft sheet and then swiping the tag through it until I was happy with the result. I then added some Gathered Twigs Distress Ink and Archival Ink in Potting Soil around the edges.
Next I stamped one of the jars and one of the labels onto smooth stamping card with Potting Soil Archival Ink, coloured them with my chosen colours of Distress Ink and adhered them together. I tied a bit of string and a tiny label, made with some bits and pieces from my stash around the neck of the stamped jar and then adhered it to the tag.
At this point it looked a bit dull and not very Halloween like somehow. So a little fussy cut witch image from an old Graphics 45 collection came to the rescue. The Artistic stamper does not stock this one, but you can find the fabulous Steampunk Spells one HERE.

For the bottom part of the tag I stamped a sentiment from the new Grungy Greetings set in Potting Soil Archival
Next I punched some holes, set some eyelets and attached the two parts of the tag together with some string as you can see from the photo.

A bit more colour was added by stamping two leaves from the new Katie Fox set in Potting Soil and colouring with Distress Inks. A ribbon and little button finished it all off.


Well hope you like my little Halloween project. And don't forget, if you have not entered our challenge yet, there is still plenty of time to do so!! To see the deets just click HERE

Thank you for visiting and see you next time!