Wednesday 30 July 2014

Make art LO by Maria Potapovich (mellpellmell)

Hi, it's Maria Potapovich (mellpellmell) here for you)))

My friend's daughter loves all kinds of art.

She is learning to do LO's, to bind notebooks, to make cards ...

...and she's very good at it!

...and I've made this LO for her))


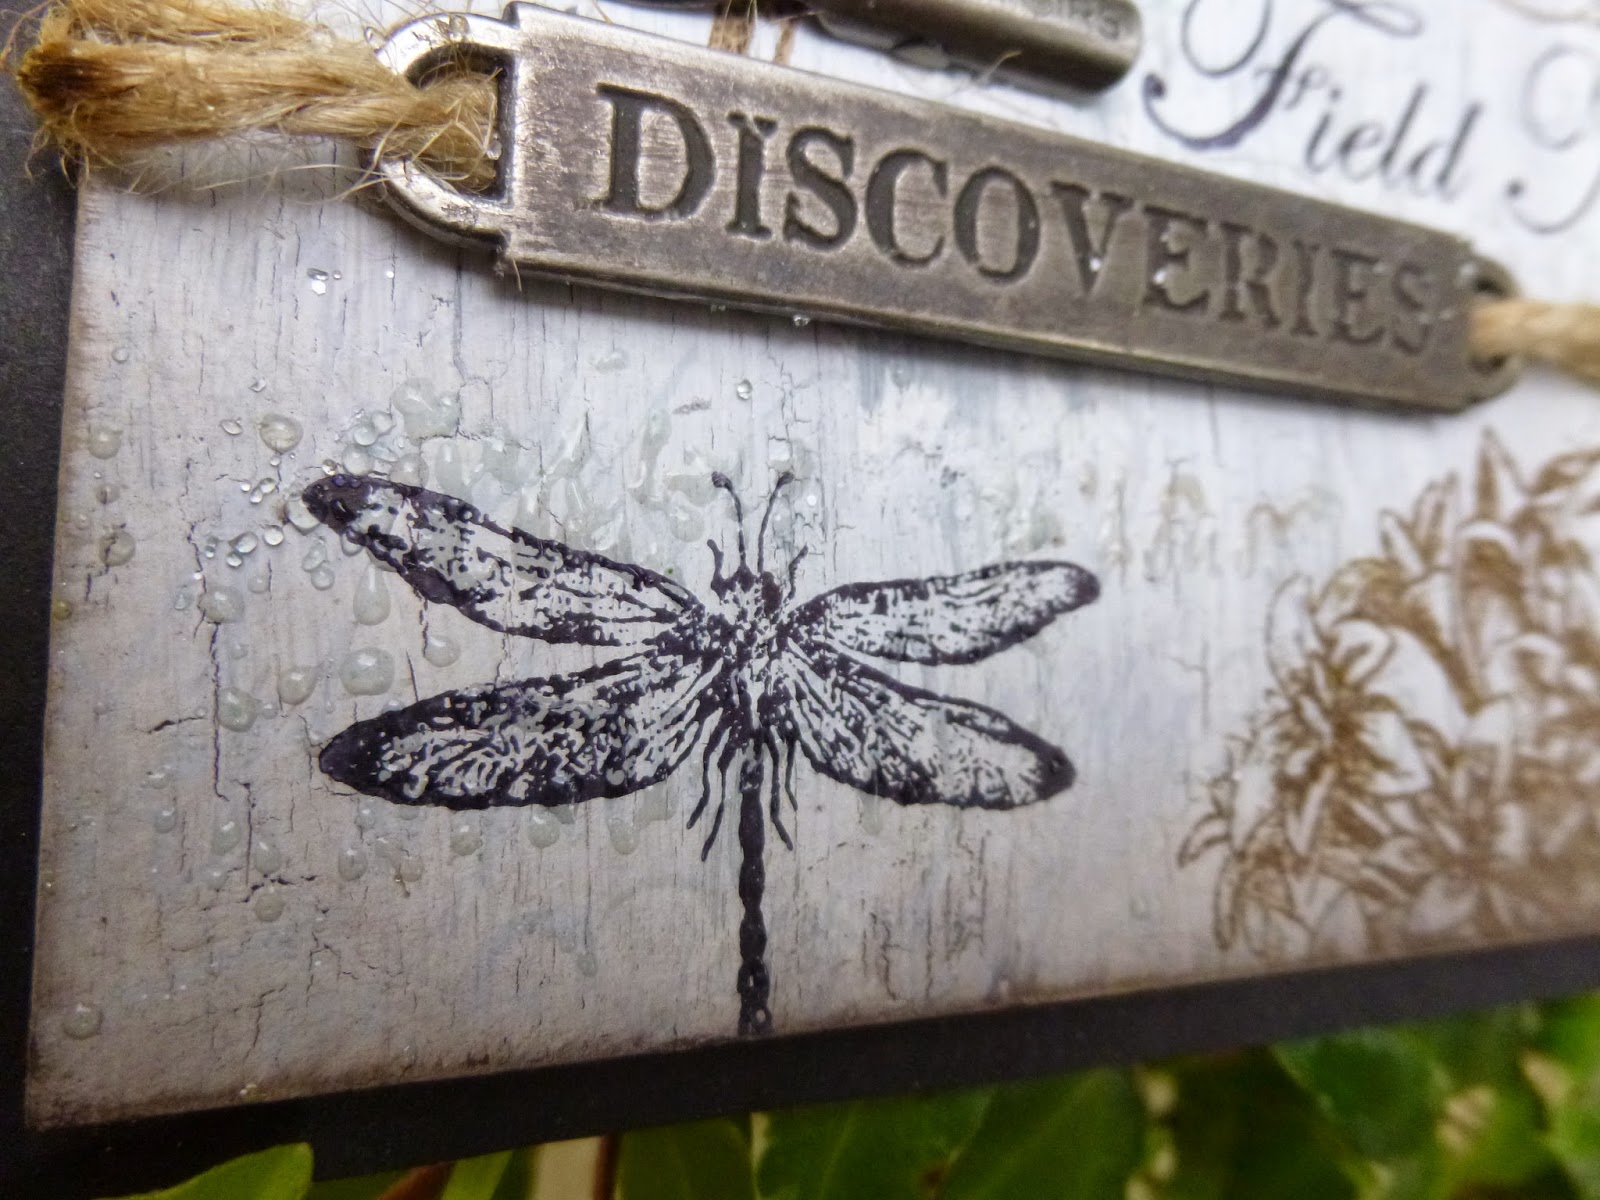
  This LO is made with the help of one stamp set Encyclopaedia Botanica Size A5 © Katy Fox and Botanical Plate 1


There are not the "girl's sets". There are the botanical sets, but... )))

Do you Like it? ;)


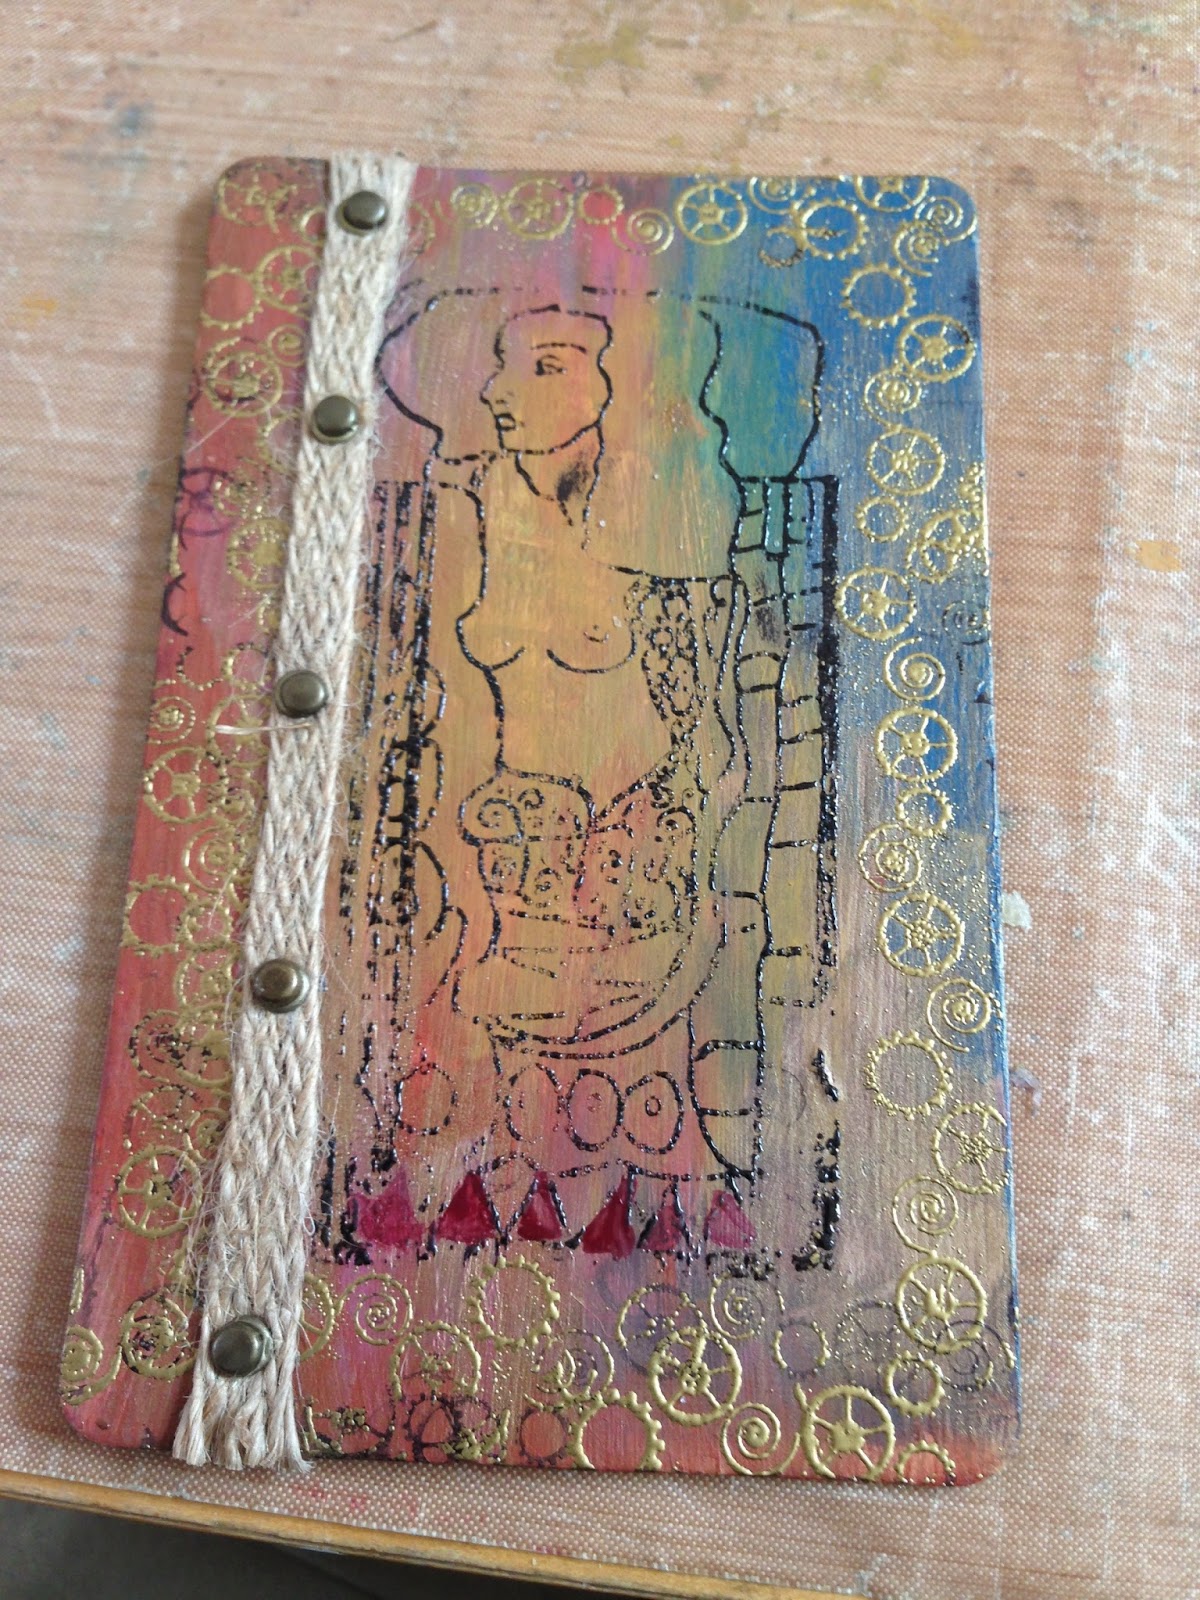
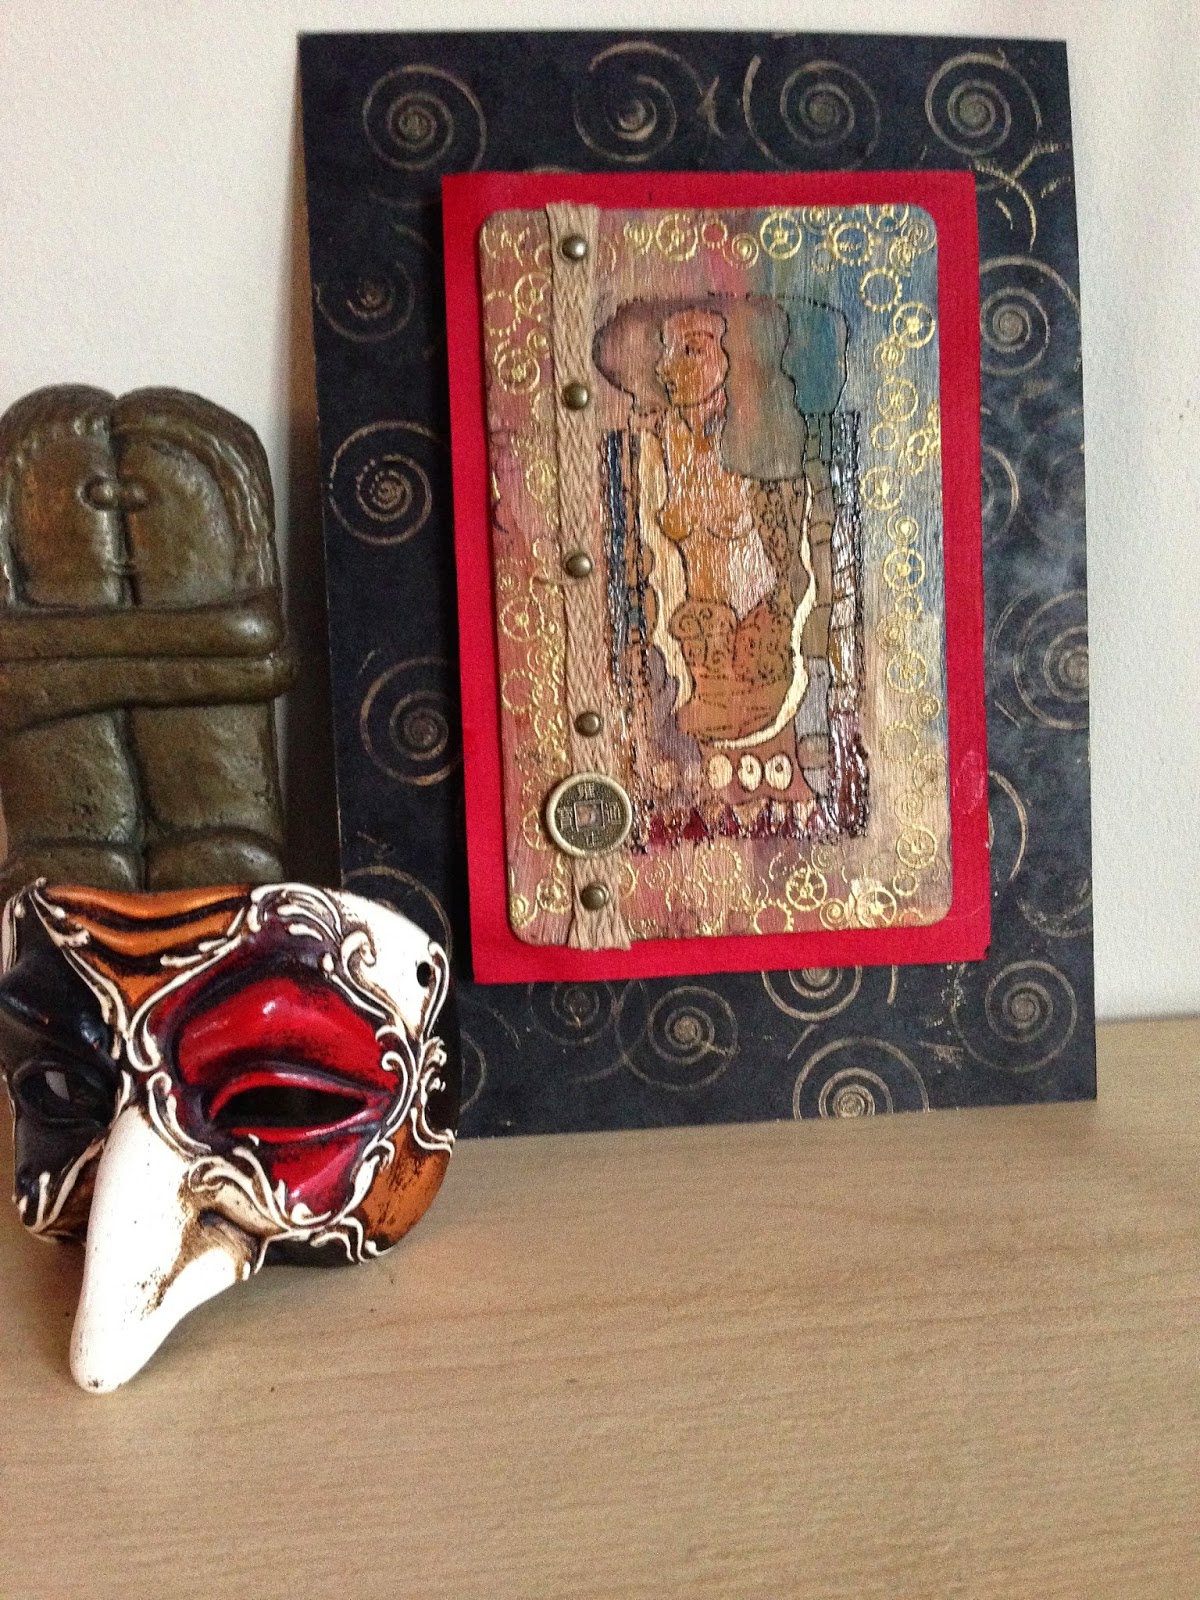
I've used stamps as individual embellishments. Of course, I decorated them a little.


Magenta and blue-green pencils and three pens helped me in decorating stamps.


I've also used different pieces of paper (BoBunny's scrappaper, kraft paper, wallpaper and  wrapping paper from soap), stencils (13@rts) and inks - you know, all the things that can be found in different parts of the table)))


Supplies used:

Artistic stamper stamps - Encyclopaedia Botanica Size A5 © Katy Fox and Botanical Plate 1

Thank you for your attention and good luck to you all))

Monday 28 July 2014

Tag - Man of wood

Hello Everyone, 
Shilpa here,
Today I have come up with a Tag which has very interesting image
It is designed by Donna.


I created the background with Ranger Adirondack  Alcohol ink - Sail boat blue and citrus. I tapped the both inks and blending solution with Applicator tool on to the glossy paper. This is super easy and quick method to create beautiful background.
I also used  leaves stamp from Artistic stamper Botanical plate 2
with Jet black Archival ink at the edges.
Man of Wood is very artistic stamp perfectly fitted with these colours.


I created two similar background pieces, adhered the one with image on the base with foam tabs to make it dimensional.
I hope you liked my tag.
Please do let me know your views regarding it through your comments. I always look forward to your feed back.

Supplies used:
Artistic stamper stamps- Man of Wood, Botanical Plate 2
Ranger Adirondack Alcohol Ink - Sail Boat blue and Citrus
Glossy paper


Friday 25 July 2014

Birds Printers Tray

Hello Everyone, 
Shilpa here,
Today, I have colorful project to share with you.

Birds Printers Tray


It is a MDF printers tray which I colored with acrylic paints. I've used Graphic 45 Botanical Tea papers in the background.


Artistic Stamper has got cutest collection of Bird stamps and this project is dedicated to them.
I've used Money Bird, Mystical bird, Mechanical bird and Funky bird stamps designed by Neil Walker. And small bird in the middle is from 'Birds of a feather' stamp collection.


I stamped all birds with Ranger Archival jet black ink, colored them with distress inks -
Blue birds - Broken china, Faded Jeans, Peacock feather,
Pink Birds - Victorian velvet, worn lipstick and dusty concord


Leaves are also handmade. I stamped Autumn leaves designed by Katy Leitch with Leaf green archival ink. Cut them and applied Peeled paint distress ink at the edges. Aren't they look real?
Here are some of the close up views.


Hope you are inspired by my project to use the stamps in a different way.

Artistic stamper has also got New Wonderful stamp collection designed by Debbie Cotton, you can find them here.

Thanks  so much for stopping by today


Supplies used:

Thursday 24 July 2014

Field Notes of a Naturalist

Hello all, Alison (butterfly) here with a Victorian naturalist's field notes from his day's excursion in the fields... and we're back to the neutrals!  It's a simple stamped tag, using Katy Leitch's fabulous new Jumbo Flowers along with one of the Stampers Anonymous Classics releases from earlier this year.


I kept the stamping simple over a background of Fresco paints and crackle glaze.  I couldn't resist a spot of clear-embossing though!


The flowers are done in Potting Soil Archival, which seems an appropriate enough colour for botanical sketches.  This is the Bouvardia, tucked away at the bottom...


Here's the Flowering Branch...


And the Camellia...


The insects are stamped in Jet Black Archival...


... carefully labelled to keep track of genus and species.


In between, you might catch sight of the sparkle of some handwritten notes about what he's found.


I stamped the Calligraphy Mat #9 in Pumice Stone Distress Ink, and then clear-embossed it.  I love the dewy shimmer as it catches the light, so I don't mind the occasional places where it's spots rather than writing - just more dew drops!


There's some simple embellishing - a word band attached with rustic twine, and the pen nib with which he's been scratching his field notes in his journal.


At the top some seam binding, dyed with Pumice Stone and bound with more twine, is fastened with a Muse Token celebrating the new knowledge he's acquired in today's nature ramble.


The whole thing is matted onto black card, to give a little extra definition, and that's your lot.


Thanks so much for stopping by today.  There's still time to enter our By the Seaside challenge this month... hope to see you there!

Ingredients used:
Artistic Stamper Stamps: Katy Leitch Jumbo Flowers - Bouvardia, Camellia and Flowering Branch, Calligraphic Mat #9
Stampers Anonymous - Classics #17
Fresco Finish Paints - Crackle Glaze, French Roast, Chocolate Pudding, Stone, Snowflake
Ranger Archival Ink - Potting Soil, Jet Black
Distress Inks - Pumice Stone, Walnut Stain, Gathered Twigs
Idea-ology Findings - Word Band, Pen Nib, Muse Token

Wednesday 23 July 2014

Klimt Take On Salome By Dee


Hi everyone I hope you are all well, this piece is inspired by the artist
Gustav Klimt if any of you know about him
he was a symbolist painter. 


The moment I spotted this stamp I thought of his work
So with that in mind it would be rude
not to use gold.


Firstly I painted my board with Fresco  Finish paints in the
following colours Tikka, Seaweed, Brownshed, 
claret and Baltic Blue.


I stamped the Salome stamp to the centre in versa fine onyx black
and then clear embossed it. Then around the edges I stamped


I then added some hessian ribbon down the left hand side and
attached this with five brads. 


Next I picked out areas to highlight with old gold 


I also used the Claret and brown shed to highlight 
other area's.


Next I used a small paint brush and applied glossy accents to 
highlight certain area's.


I poped this on to a vibrant red covered foam board.


I then placed this on to a black piece of card that I had randomly
stamped with the swirl pattern of the tick tock plate that had
 been inked with gold brilliance and heat set.

That's it from me today thank you for taking the time to pop by
please feel free to leave your comments 
happy stamping!
Dee x


Materials used:- Artistic Stamper Stamps  Tick Tock, Borders A5, Salome 4 x 9 
  Embellishments,  Dee Adams 


Monday 21 July 2014

My little sewing box

Salut les patouilleur-se-s !!
This is Titbelsoeur talking to you today.
I wish you a good Summer time and hope the weather is hot and sunny wherever you are !

My piece for today is a tin can (I'm not floating on though) I have covered with a very old song paper and in which I have put some sewing tools :

thread spools (authentic or not ;)
 

a button card (card is stamped and buttons are period ones) :


a pin card :


and a spool label :


a tiny pair of scissors, some "hand made" and tailor's tape ribbons, and tadammm

here it is :


All these stamps come from the A Stitch in Time plate.

Thank you so much for stopping by, 
I hope you like my sewing can, and am looking forward to reading your comments !
A tout bientôt !


Friday 18 July 2014

Goose Grease Tag by Alison Hall

Hello Stampers! I have a large inky tag to share with you today.


Here's what I used...

Manila Tag - Size 10
Old Book Paper
Crunchy Waxed Kraft Paper
Ideaology Long Fasteners, Mini Gear, & Pen Nib
Blending Foam
Distress Tool
Sequin Waste
Paper Tape Measure (from a Christmas Cracker!)

And, here's what I did...

1. I used matt medium to glue some scraps of book paper to the tag, then realised that the matt medium resists ink! So, I added a thin coat of Fresco Snowflake paint.
2. I used blending foam to apply Cobalt Archival ink to the tag, sponged some of the ink through sequin waste, then stamped images from the Numerical & Ephemera Plates, using Cobalt, Watering Can & Potting Soil Archival inks.
3. I used blending foam to darken the edges of the tag with the Cobalt, then distressed the edges & applied Vintage Photo Distress ink.
4. I stamped Goose Grease & the words from Ephemera Plate 1 onto white smoothy card. I inked Goose Grease with Antique Linen Distress ink, cut him out, distressed the edges, then inked them with Vintage Photo. 


5. I cut out the words, distressed the edges, then inked with Vintage Photo Distress.
6. I tore a piece of crunchy wax kraft paper, crumpled it up, inked the edges & applied coppery gilding wax. I attached Goose Grease to the wax paper & tag with long fasteners, adding a mini gear & a pen nib.
7. I glued the words to the tag, then added the paper tape measure to the bottom with long fasteners.
8. Finally, I coloured some seam binding with Vintage Photo Distress Stain, crumpled it up, inked the creases with Potting Soil Archival, added some gilding wax, then threaded it through the top of my tag.
9. Oops...nearly forgot to say, I also added some glossy accents to the Prof's glasses!

If you click on the photos, you may just see the book paper texture in the background. 

I hope you like my tag. I really love the gorgeous colour of the Cobalt background against the kraft paper. 

Thanks for visiting,
Alison xxx


Thursday 17 July 2014

Creative life card by Maria Potapovich (mellpellmell)

Hi))) 
It's me, Maria Potapovich (mellpellmell) here for you today!


I am here for the first time, so I have to explain something.

I love everything associated with paper, brushes, paints, stamps, ink, stencils, scissors ... 
Well, you get my point ... 


I do different projects, but today I want to share with you just a small postcard. 
At first glance, it is quite simple. Let's be honest:  at second glance everything is the same))) 

At the beginning I suggest you watch the video, and then I'll tell you the details. Ok?


Just want to tell you that I've used these stamps:

Star Background 2 A6 

Journaling Mini Words #1

Now let's talk about the process)))

1. So, first I made the background using a stencil "honeycomb", ink (distress/fired brick) and sponge.

2. Then I added the stars, putting the stamp mark with star background stamp and ink (distress/black soot).

3. When the background was "a half ready", I sprinkled a little water (just with my wet hands) and then added a little splash of white ink.

4. Then I outlined the hexagons on the right side with a black pen.

5.  And finally I glued two printed and  crookedly cut words on 3D foam squares.

6. The End))) Card is already ready! Nothing more to write here!)))


I hope you enjoyed this simple card made ​​for one very creative person! ;)

Have a nice day!


Tuesday 15 July 2014

Masculine project with Franswar Stamp

Hello Everyone, Shilpa here today,  with masculine project.
Artistic Stamper has a very good collection of Masculine stamps and today my main character is 'Franswar' designed by Neil Walker.


And this is how I  started off


On a gesso treated white card stock, I applied Antique linen, Old paper and Scattered straw distress paints. Spritzed water to get even layer. Dried it with my heat tool and gave another layer of DP. 
Stamped randomly with Small bingo card and Coffee Archival Ink.
Next layer was with Pine needles DI and Crafters workshop Specimen stencil.

 
After this, I stamped  Franswar image stamp with Jet black Archival ink. At the edges stamped with cogs  border stamps. Artistic stamper's Watches set is wonderful set of different varieties of watch images. At the corner, in the picture , you can see the side view watch image, which is a unique stamp, I have not seen similar before.

 
This is another watch in same stamp set.
Then, I applied Antique linen, Tea dye and Pine needles DI at the edges.
Adhered wood veneer Scale at the bottom of the piece. It has colored with DI. 
The word 'believe' is from Journaling words # 4
And finally I adhered the whole panel on another pattern paper from DCVW.

Hope you liked my masculine project.
Do check Artistic stamper store for amazing stamp collection.

Thanks so much for your visit today.
 
Supplies used:
Artistic stamper Stamps:
From my stash - white card stock, Gesso, DCWV paper pad